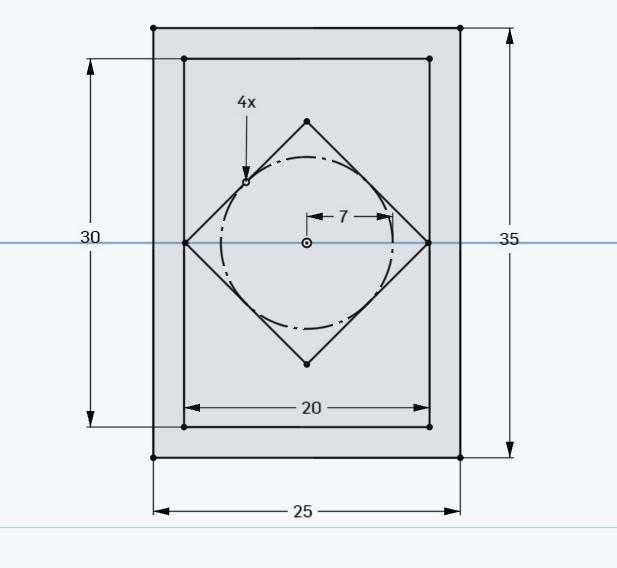
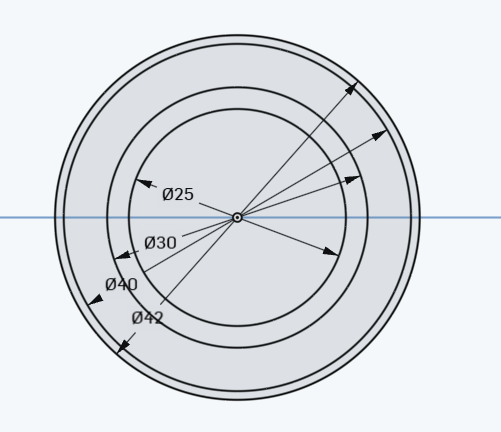
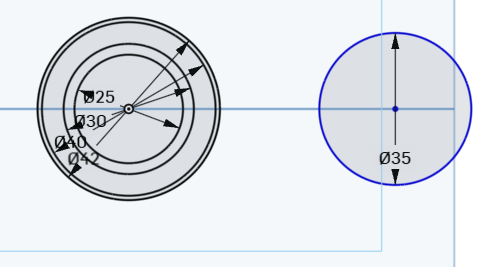
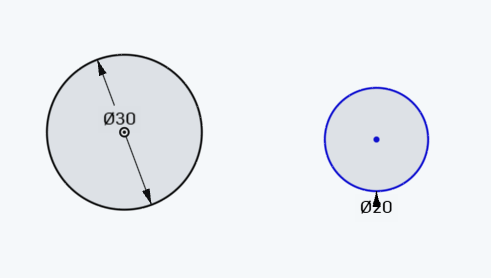
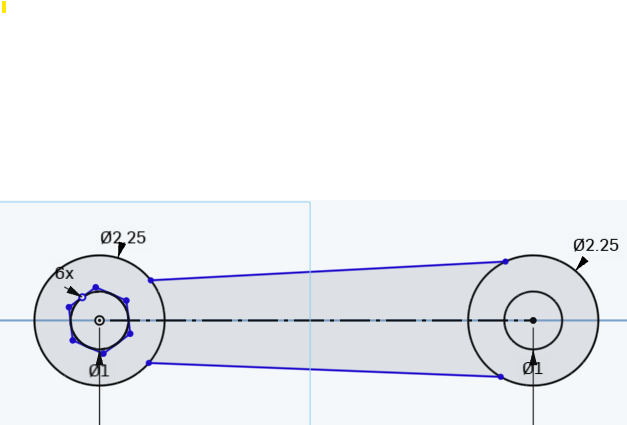
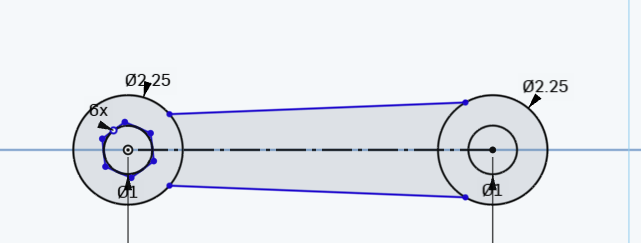
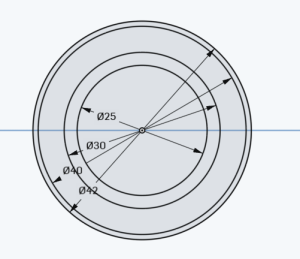
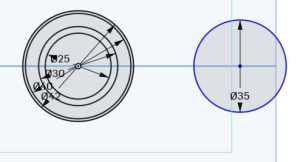
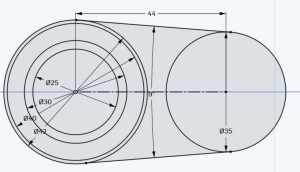
Step 1) Create a 25, 30 , 40 and 42 MM circles all centered at the orig
Step 2) Add a single circle on the right that has a radius of 35.
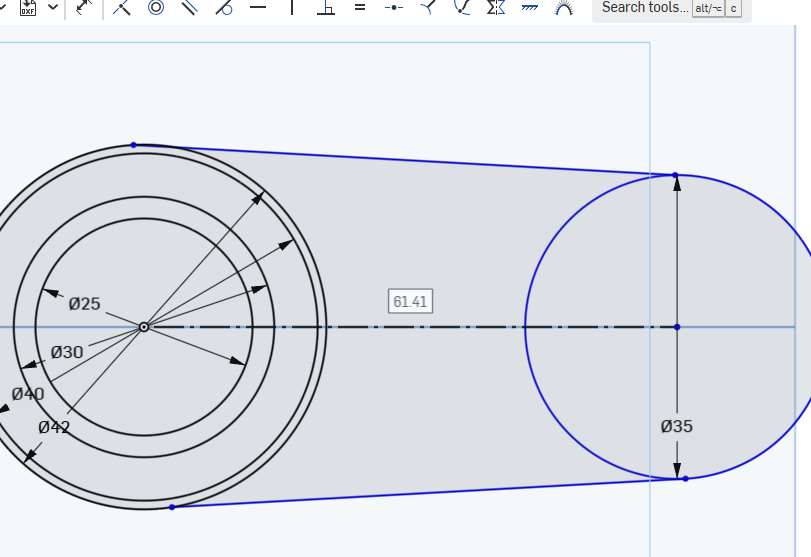
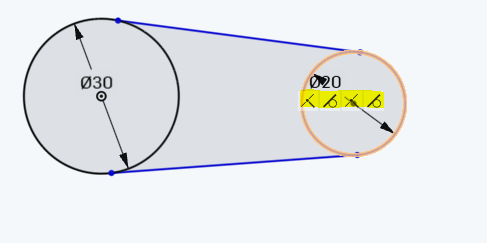
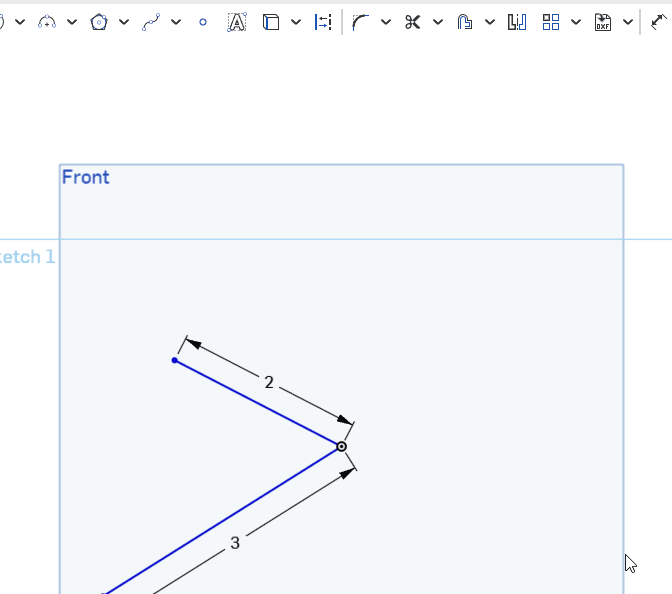
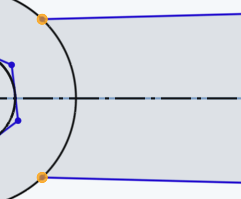
Step 3) connect centers with construction line. Make sure that the blue lines are coincidental to the circles

tip: if you draw a line , you can use the ‘q’ button to change it to a construction line!
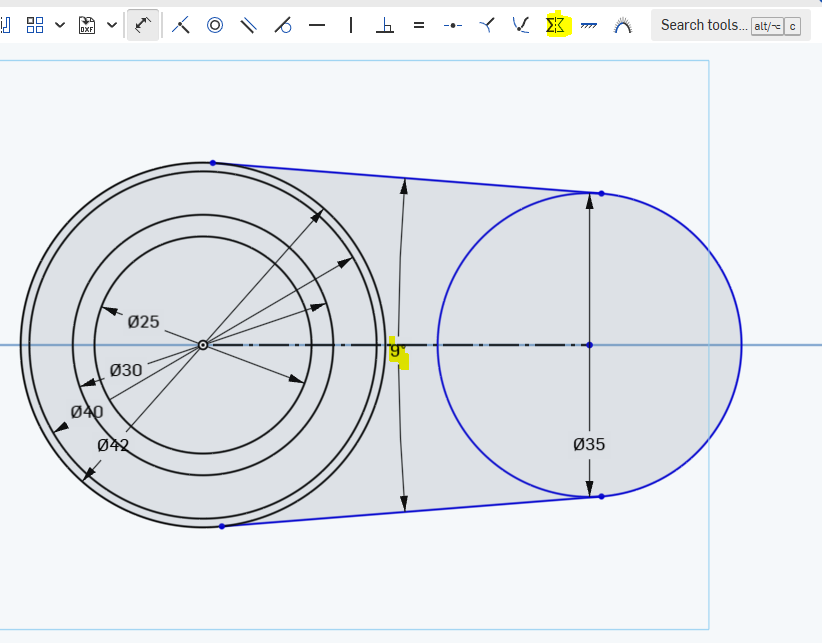
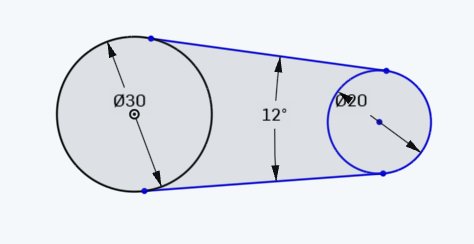
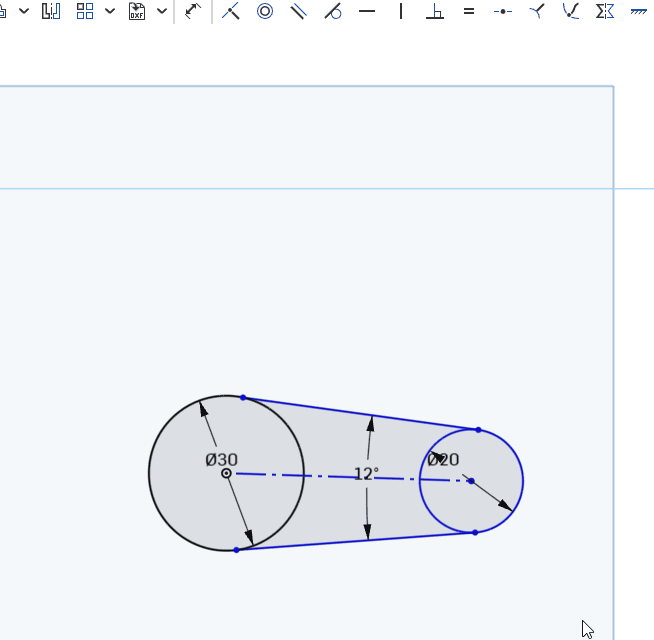
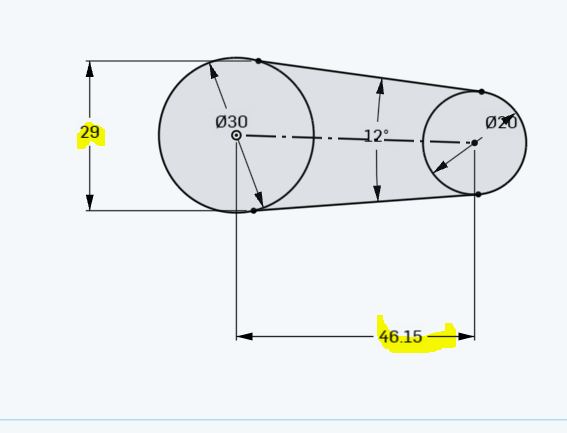
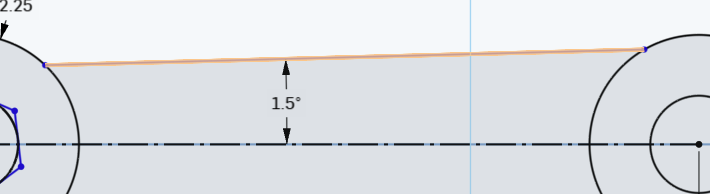
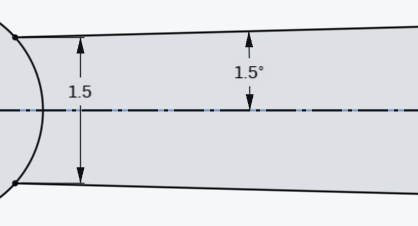
Step 4) Make the blue lines symmetric to the construction line and at a 9 degree angle

Step 5) The center of the circles should be dimensioned to 44:
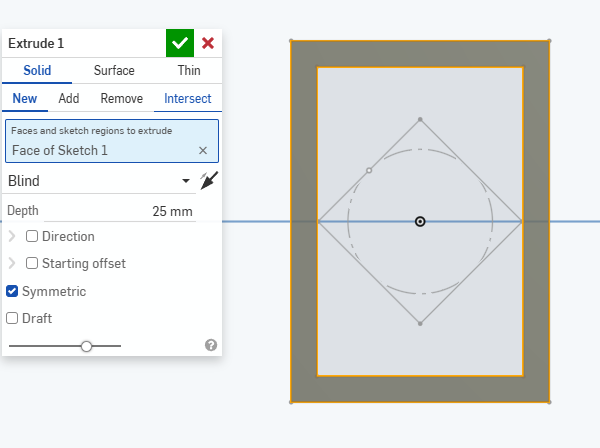
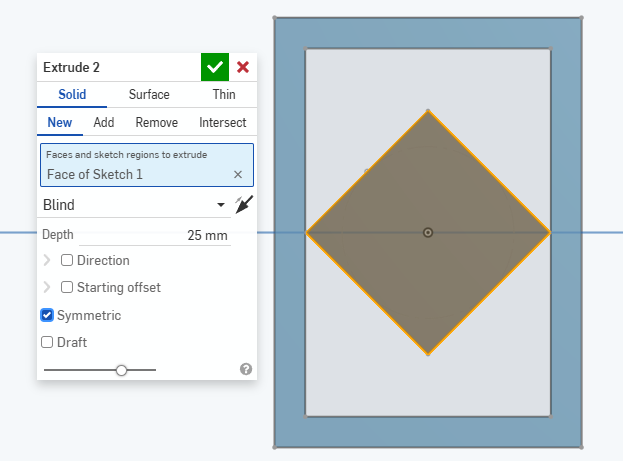
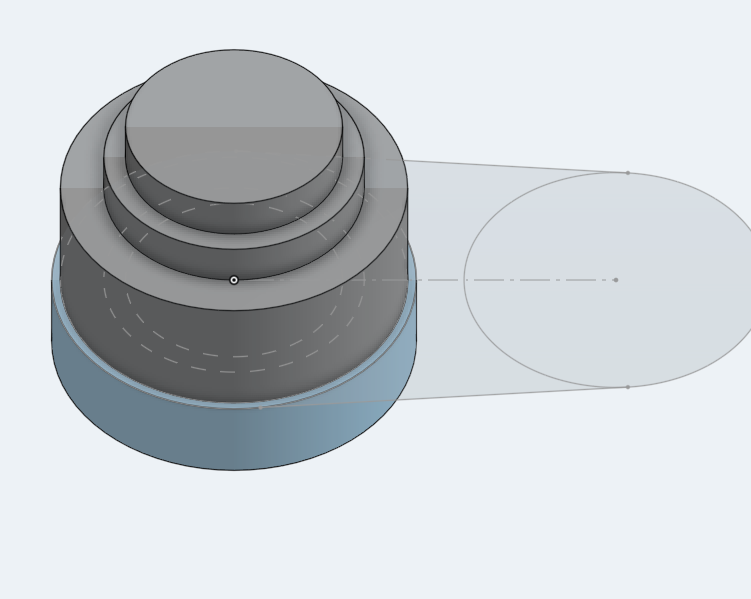
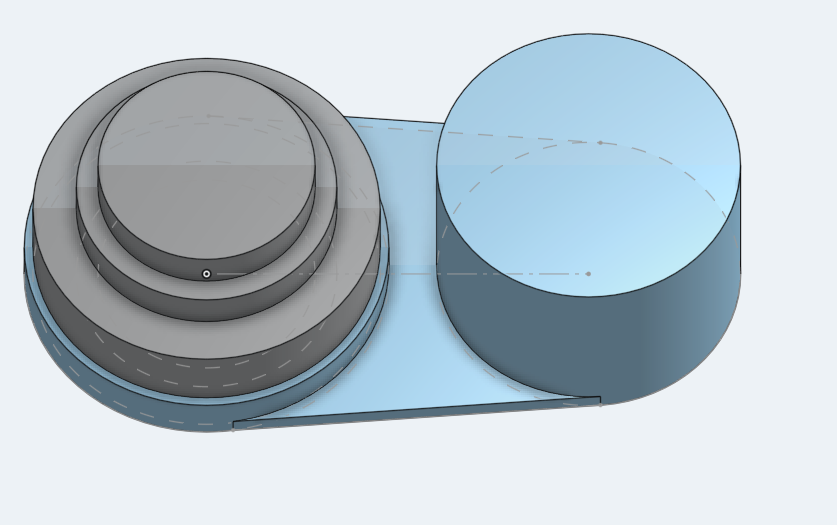
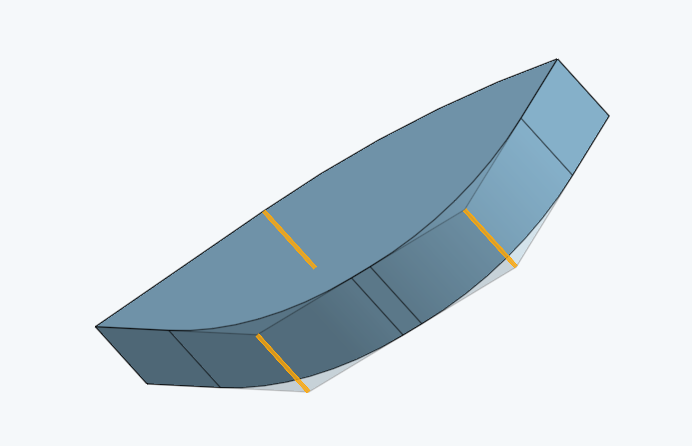
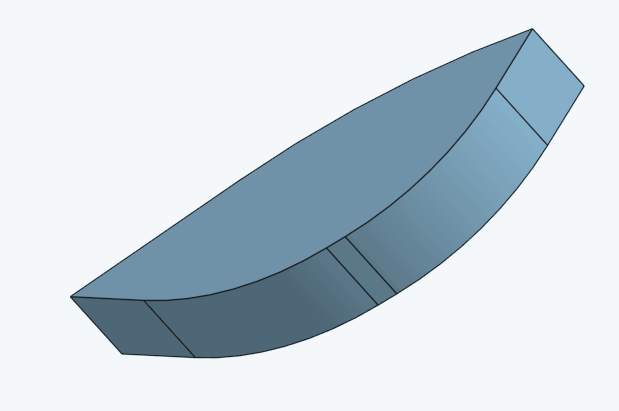
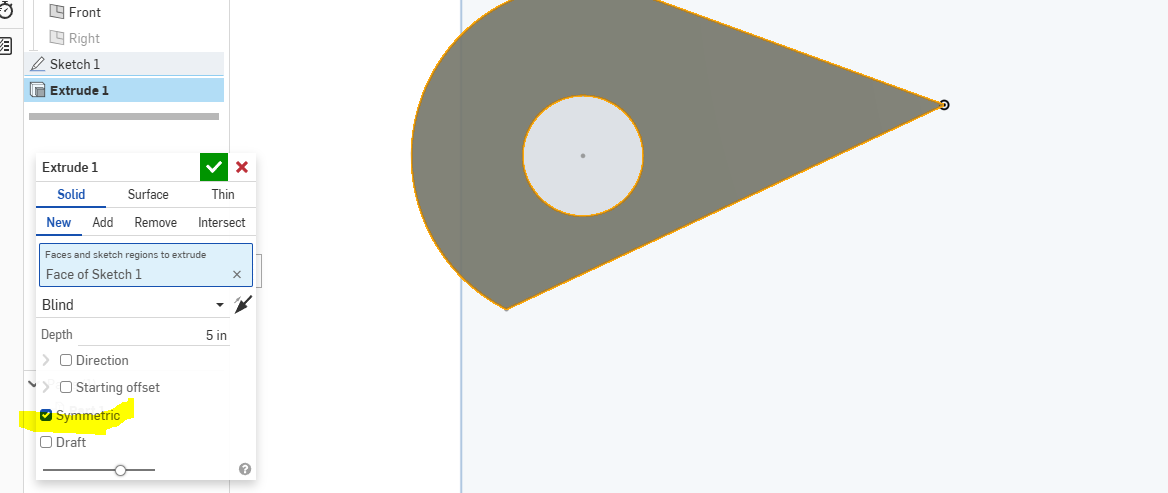
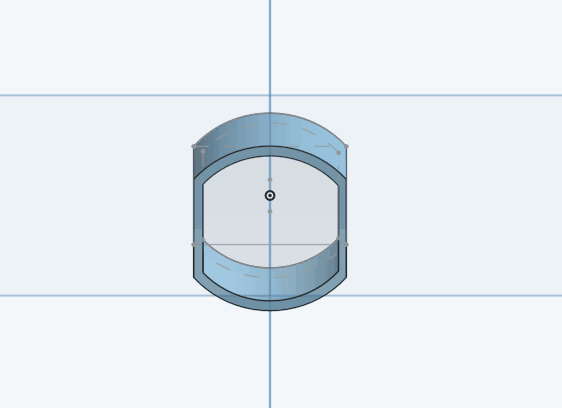
Step 6) Each part of the circle on the left should be an extrude. The outermost starts at 10MM, then 15MM, 20, 25 MM:
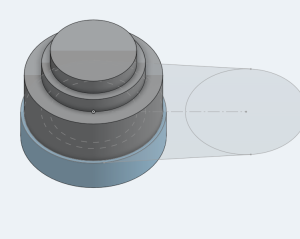
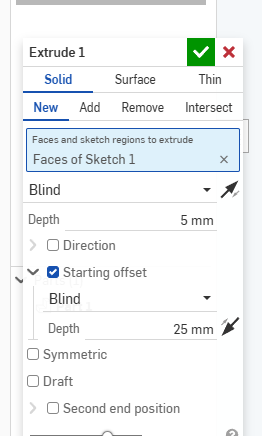
Step 7) Connect the two end circles with a 2 MM extrude. The right side is 25 MM:

Step 8)create the variable as shown below: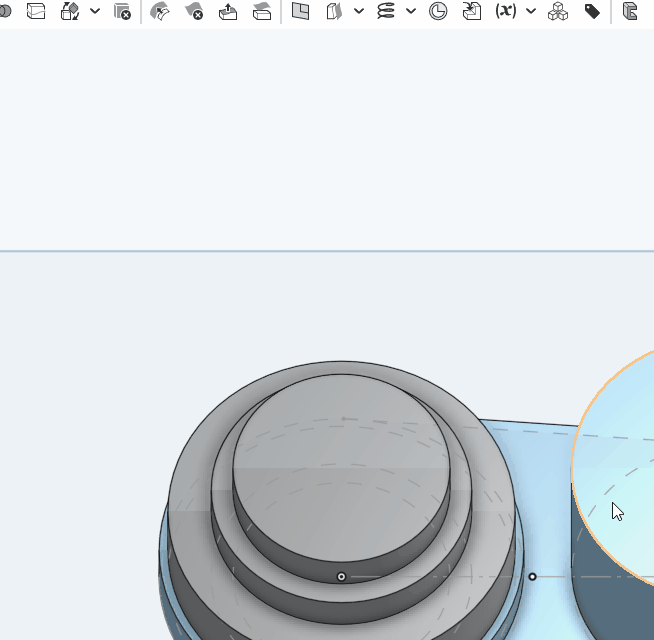
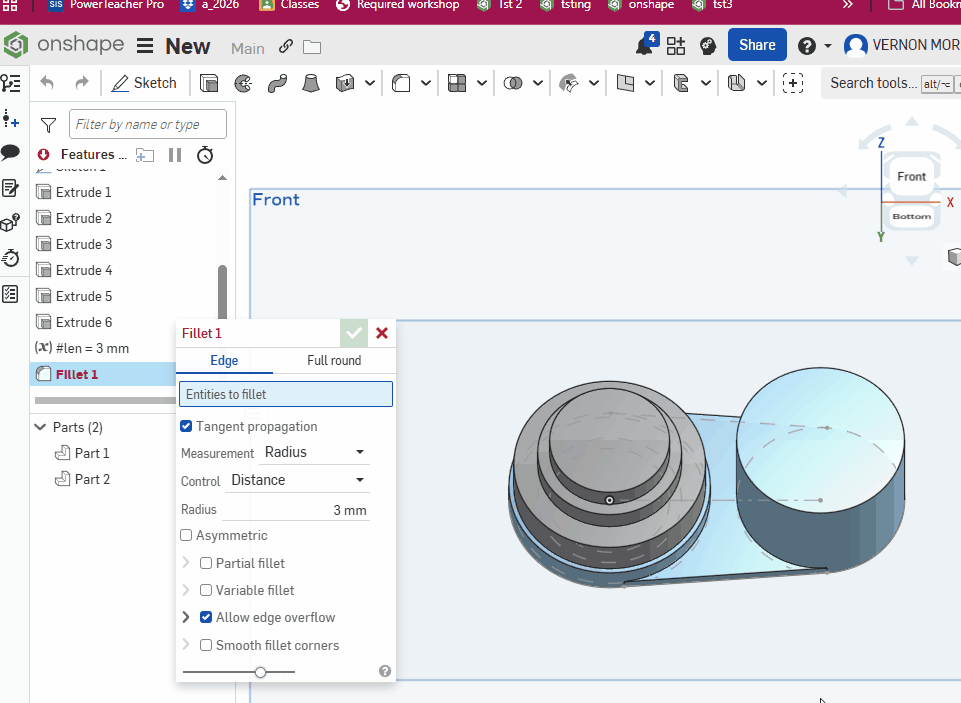
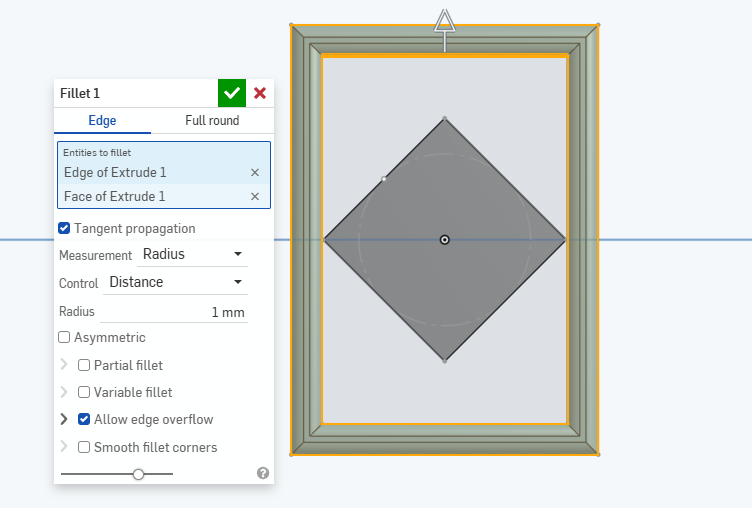
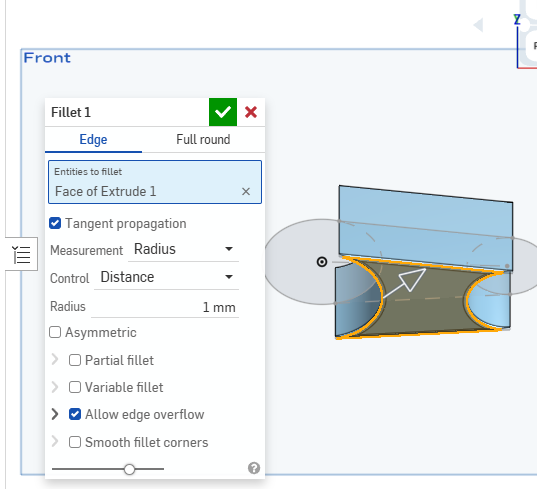
Step 9) Add a fillet to all the circles edges. Set its amount to the variable len as shown. This video shows you how to use a variable and then change the variable: