Category Archives: Computer Science

Microbit Makecode Temperature Measurement

Activity (Lower Computational Thinking)

Step 1 : build forever → show number → temperature. ( how to link)

Flash to device (link).

Step 2 : Scavenge Hunt Battery pack on, roam the room. Record on a paper table. Write each number

  • by the window,
  • near a laptop,
  • in a cupped hand,
  • on the floor. 4–5 spots write the number each time..

Extension: The micro:bit thinks of temp in Celsius. Convert that reading into Fahrenheit for display and your logs; the micro:To do this, you must be able to make a variable and then implement the conversion formula. Here’s one way: (how to )

Activity (Upper Computational Thinking)

Step 1 : Two Numbers 1 Device : button A → temperature, B → light level (how to link)

Two sensors, one device.

Flash once .

Step 2 : Scavenge Hunt Battery pack on, roam the room. Record on a paper table. Log both temperature and light at each spot, and record a second reading at each spot 30 seconds apart to see if it drifts. 4–5 spots

  • by the window,
  • near a laptop,
  • in a cupped hand,
  • on the floor. 4–5 spots write the number each time..

Extension: The micro:bit thinks of temp in Celsius. Convert that reading into Fahrenheit for display and your logs; the micro:To do this, you must be able to make a variable and then implement the conversion formula. Here’s one way: (how to )

Make Code Radio Communication

Every microbit has a 2.4 GHZ radio module bulit into the CPU.

Below is demo of what we are going to do in this short tutorial–send a number of radio waves from one microbit to the other:


Microbit 1: The Sender

Radio Group. Both microbits must be set to the same group number. I chose the number 5. Just make sure you set that first (on start).


Microbit 2: The Receiver

Most common error is not setting the same radio group on both microbits.

Microbit How To’s

How to make a variable and assign it a value

If/else if / else with a variable

Create a variable and set it to a random number:

Plot Bar Graph

Radio Communication . Read the Tutorial Here

Coming soon…Next how to

Mars : Missions

Start Coding here : https://makecode.microbit.org/

How to do common stuff with MakeCode

The Missions  

Topics/Links : On Start Show String

Stuck? Check out this code


Topics/links : Button A

Stuck? Check out this code


Topics/links : Button A , if / else , set variable

Stuck? Some of the code


Topics/links : Shake Event, if else , set variable to random ,

NOTE: Please make sure you save a copy of Mission 4. Don’t lose it! (We might use it later)

Result :


Code for Forever loop/ plot bar graph/acceleration


This is a 2-parter. Part I involves upgrading the Mission 4 scout

Topics/links for Part I : Shake Event , Radio Communication Full Example

Topics/links : Shake Event , set radio group, on radio receive , on radio receive number if/else Radio Communication Full example

Winter Break Themed

Use onshape to generate a winter themed 3-d drawing. The more complex, the more points.

Ideas include : snowflake, snowman, Hanukkah candles, christmas tree with presents

Example of 5 out of 5 initial outline

winter-themed-onshape_5

Example of 3 out of 5

winter-themed-onshape_3


Some good actual examples of completed projects

snowflake extruded

Variable in onShape Do Now


Step 1) Create a 25, 30  , 40 and 42 MM circles all centered at the orig

multi-coincidental

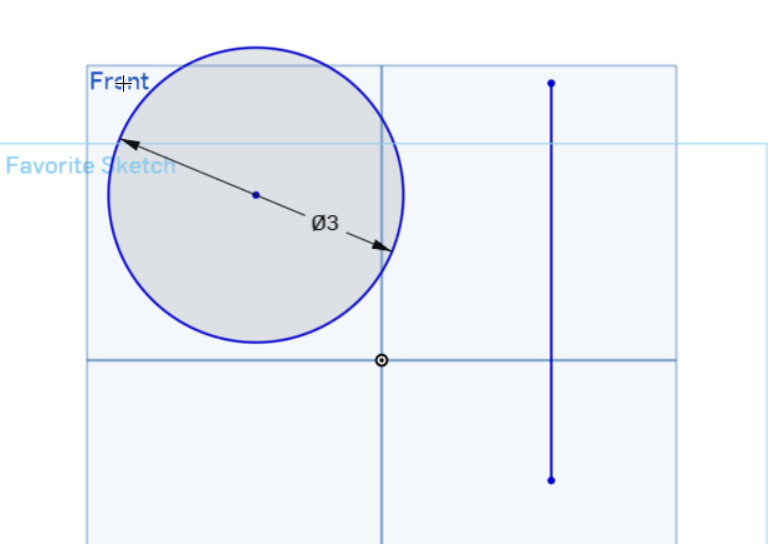
Step 2) Add a single circle on the right that has a radius of 35.

multi-coincidental3


Step 3) connect centers with construction line. Make sure that the blue lines are coincidental to the circles

multi-coincidental4

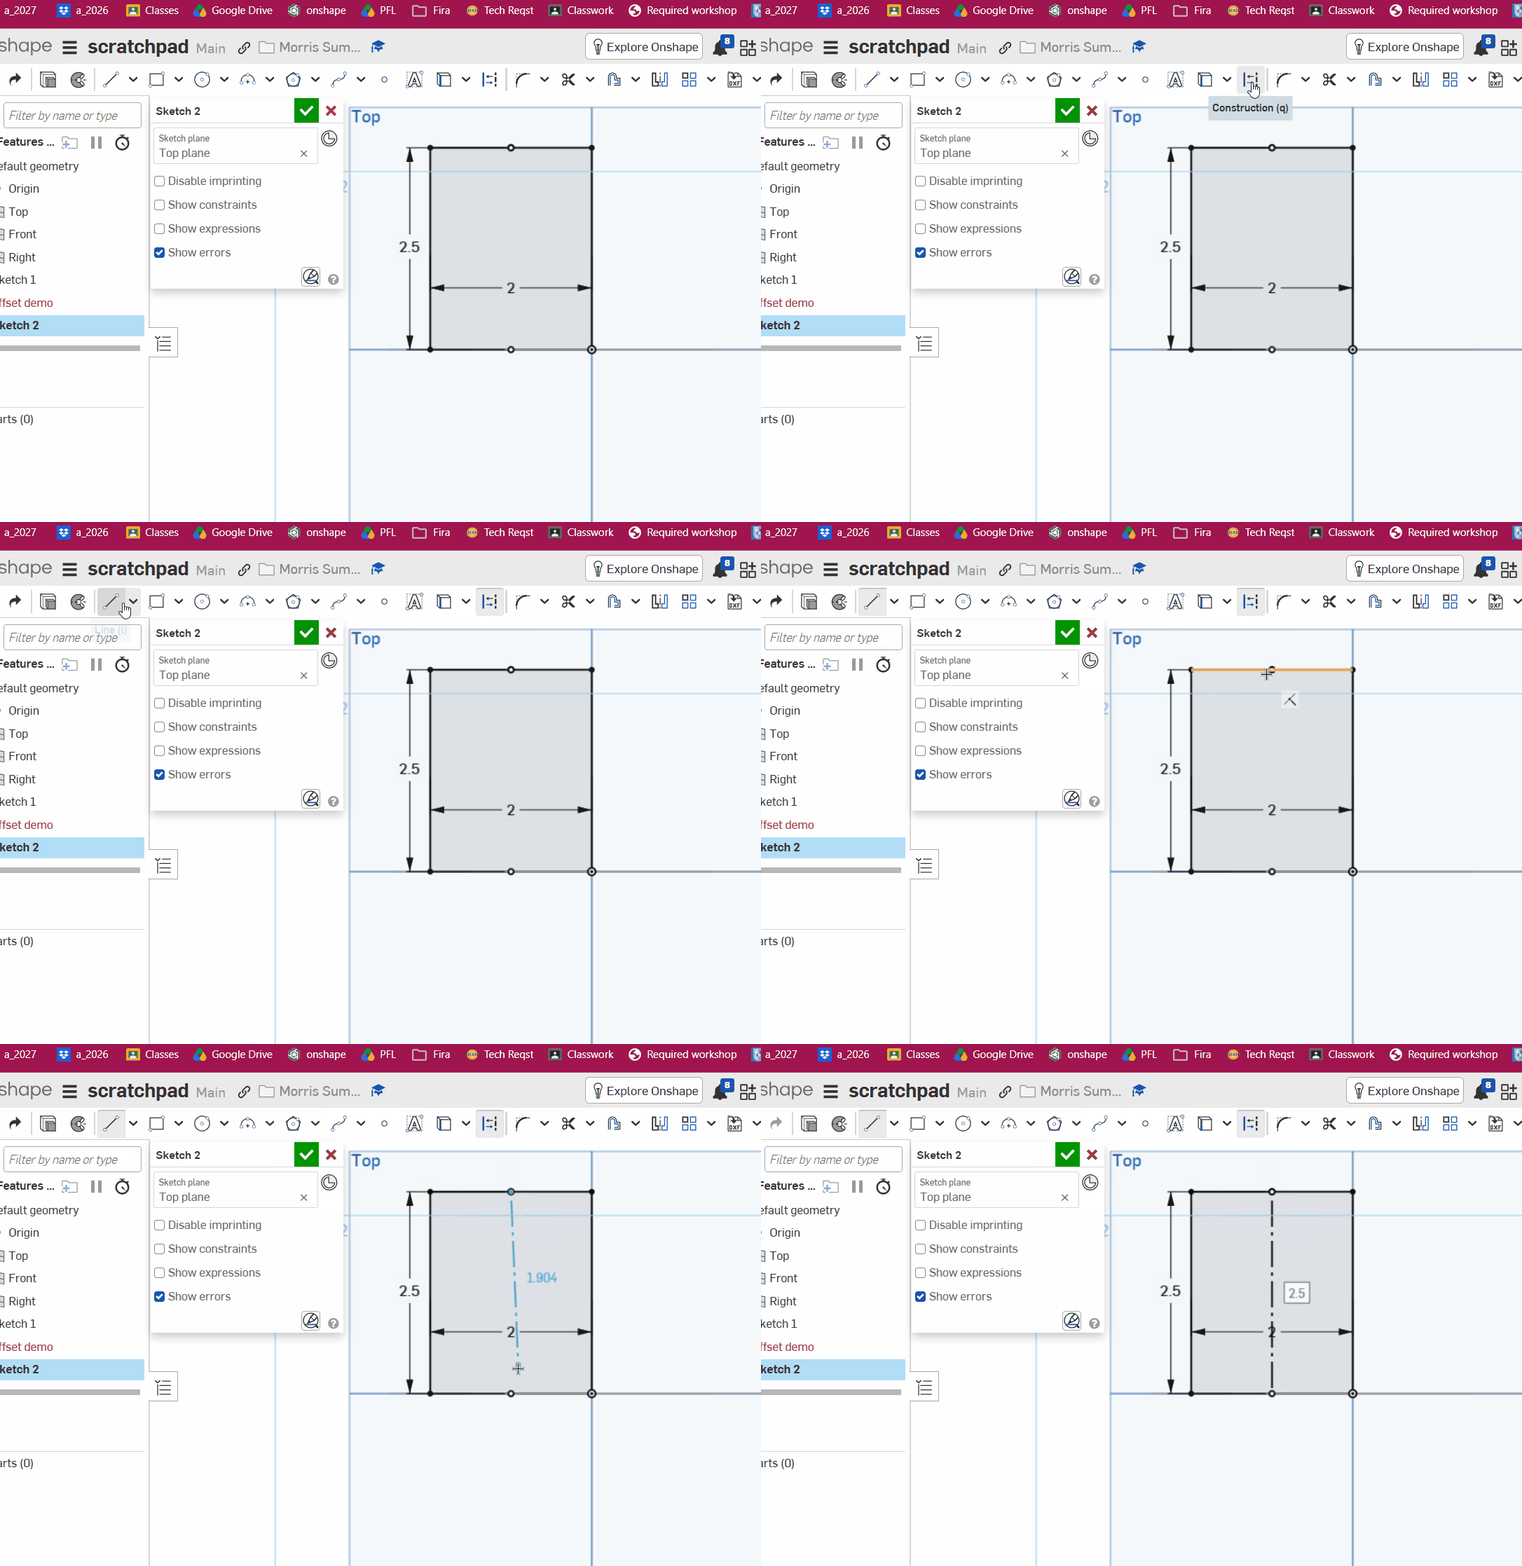
tip: if you draw a line , you can use the ‘q’ button to change it to a construction line!

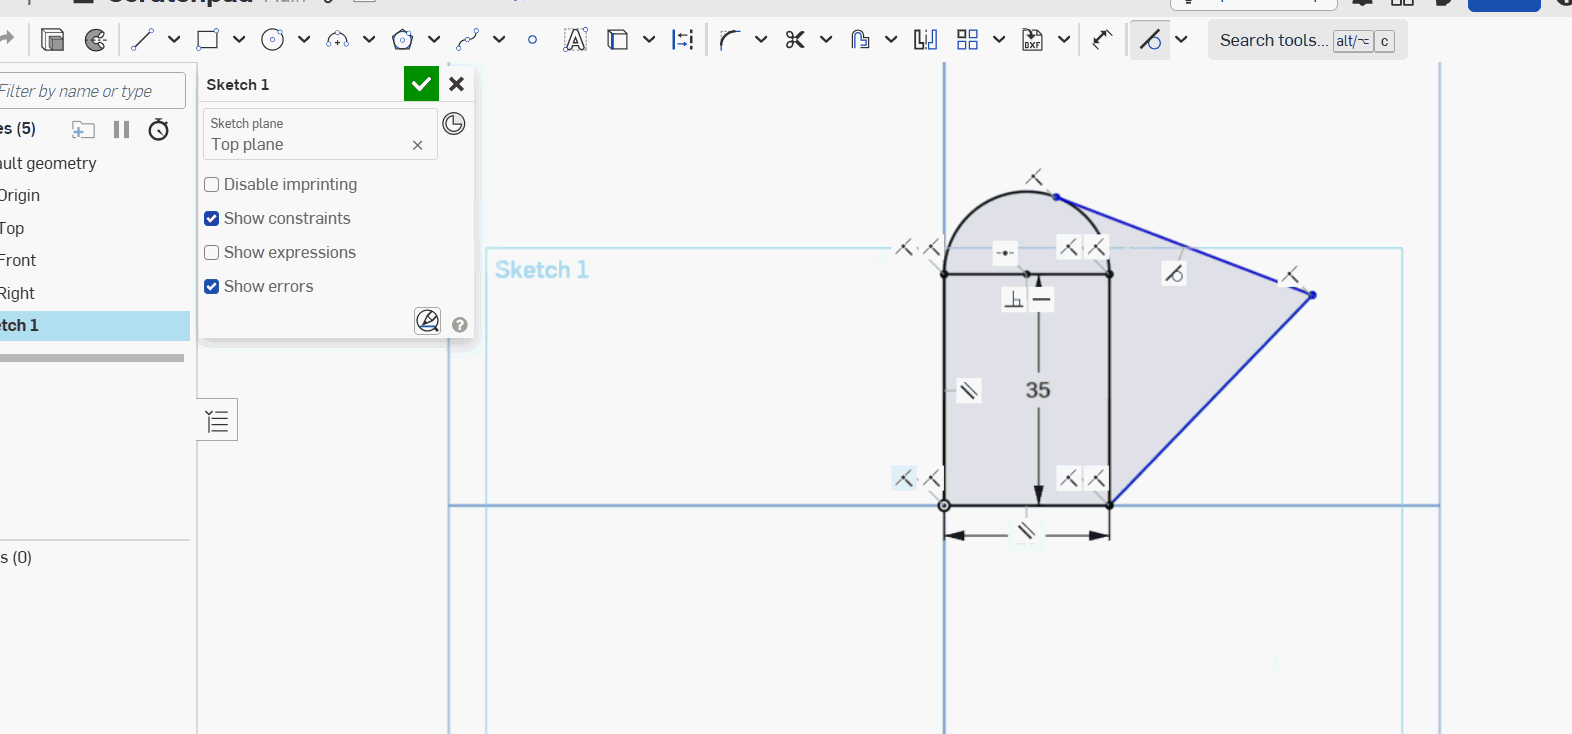
Step 4) Make the blue lines symmetric to the construction line and at a 9 degree angle

multi-coincidental5

Step 5) The center of the circles should be dimensioned to 44:

multi-coincidental6

Step 6)  Each part of the circle on the left should be an extrude. The outermost starts at 10MM, then 15MM, 20, 25 MM:

multi-coincidental7

Step 7) Connect the two end circles with a 2 MM extrude. The right side is 25 MM:

multi-coincidental9


Step 8)create the variable as shown below:fillet-amount

Step 9)  Add a fillet to all the circles edges. Set its amount to the variable len as shown. This video shows you how to use a variable and then change the variable:

vriable-for-fillet-val


Angles w Fillet

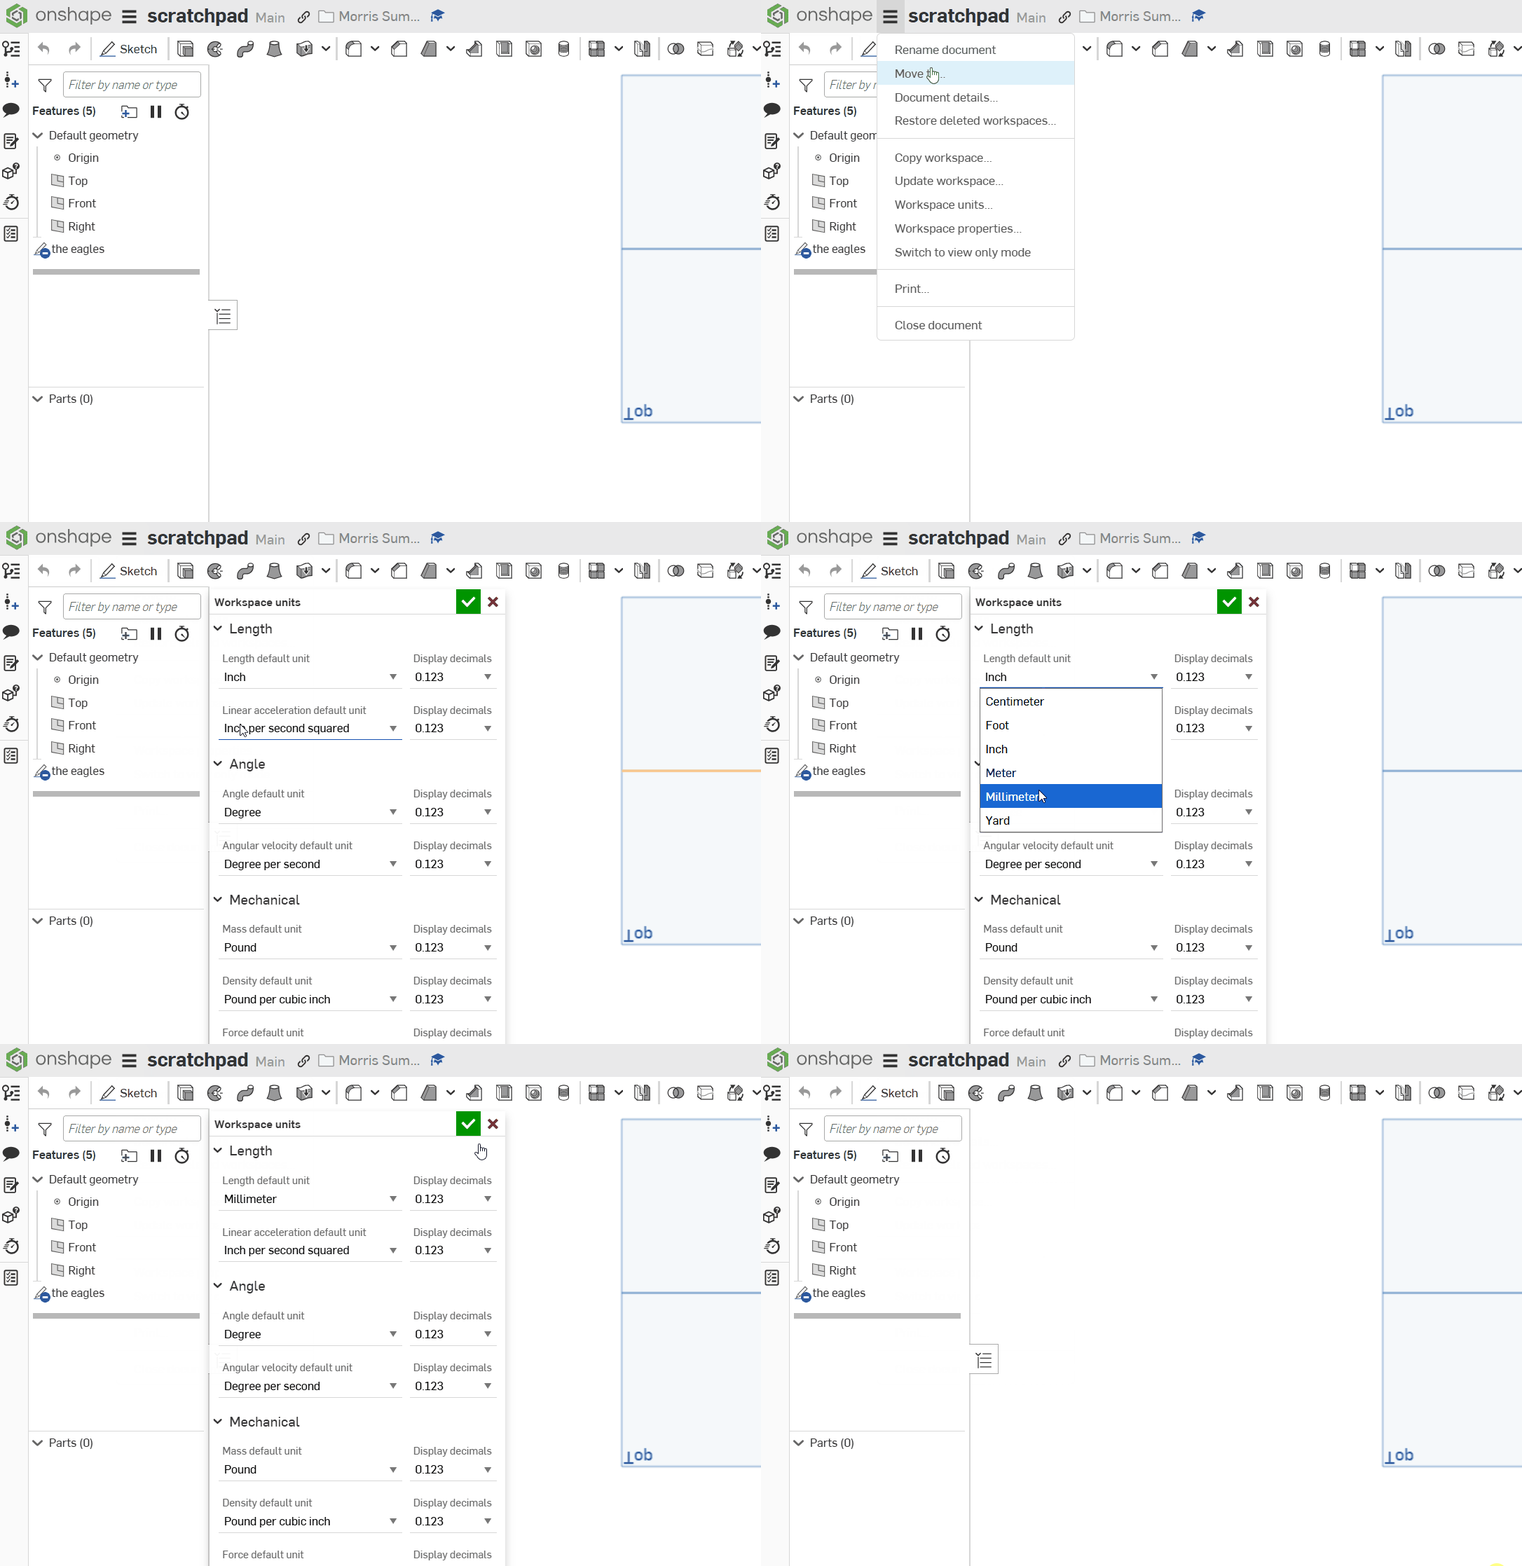
Workspace Units: MM, use the front plane

Step 1) Create 2 line segments, centered at the origin (as always) and dimension them to 10 MM each

10MM each

step 2)  These should be angled at 45 degrees

45degree angle

Step 3) Add a 12 and 9 MM segments :

12 and 9 segments

Step 4)  Dimension the 2 angles to 140:

140each

step 5) Connect with a tangent arc

connectwtangentarc

Step 6)  Add a 5 MM symmetric extrude

5mmsymmetric

Step 7)  Fillet the Edge of Extrude 1 in these 3 places:

filletasshown

Step 8)  Final Filletted version:

final-filleted-version