Author Archives: Mr. M

Winter Break Themed

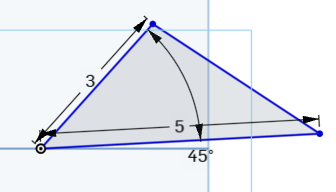
Use onshape to generate a winter themed 3-d drawing. The more complex, the more points.

Ideas include : snowflake, snowman, Hanukkah candles, christmas tree with presents

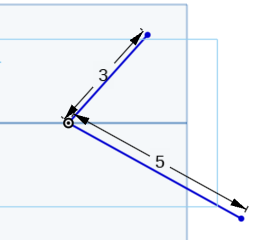
Example of 5 out of 5 initial outline

winter-themed-onshape_5

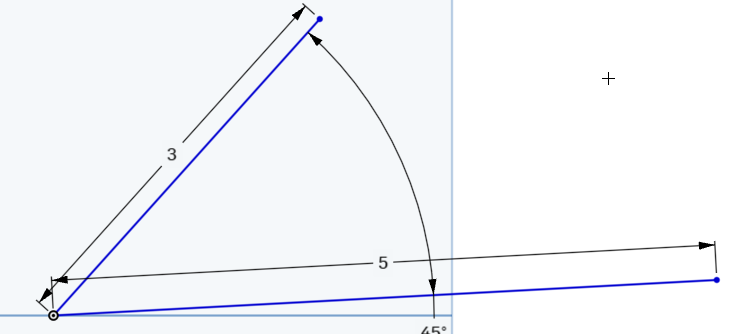
Example of 3 out of 5

winter-themed-onshape_3


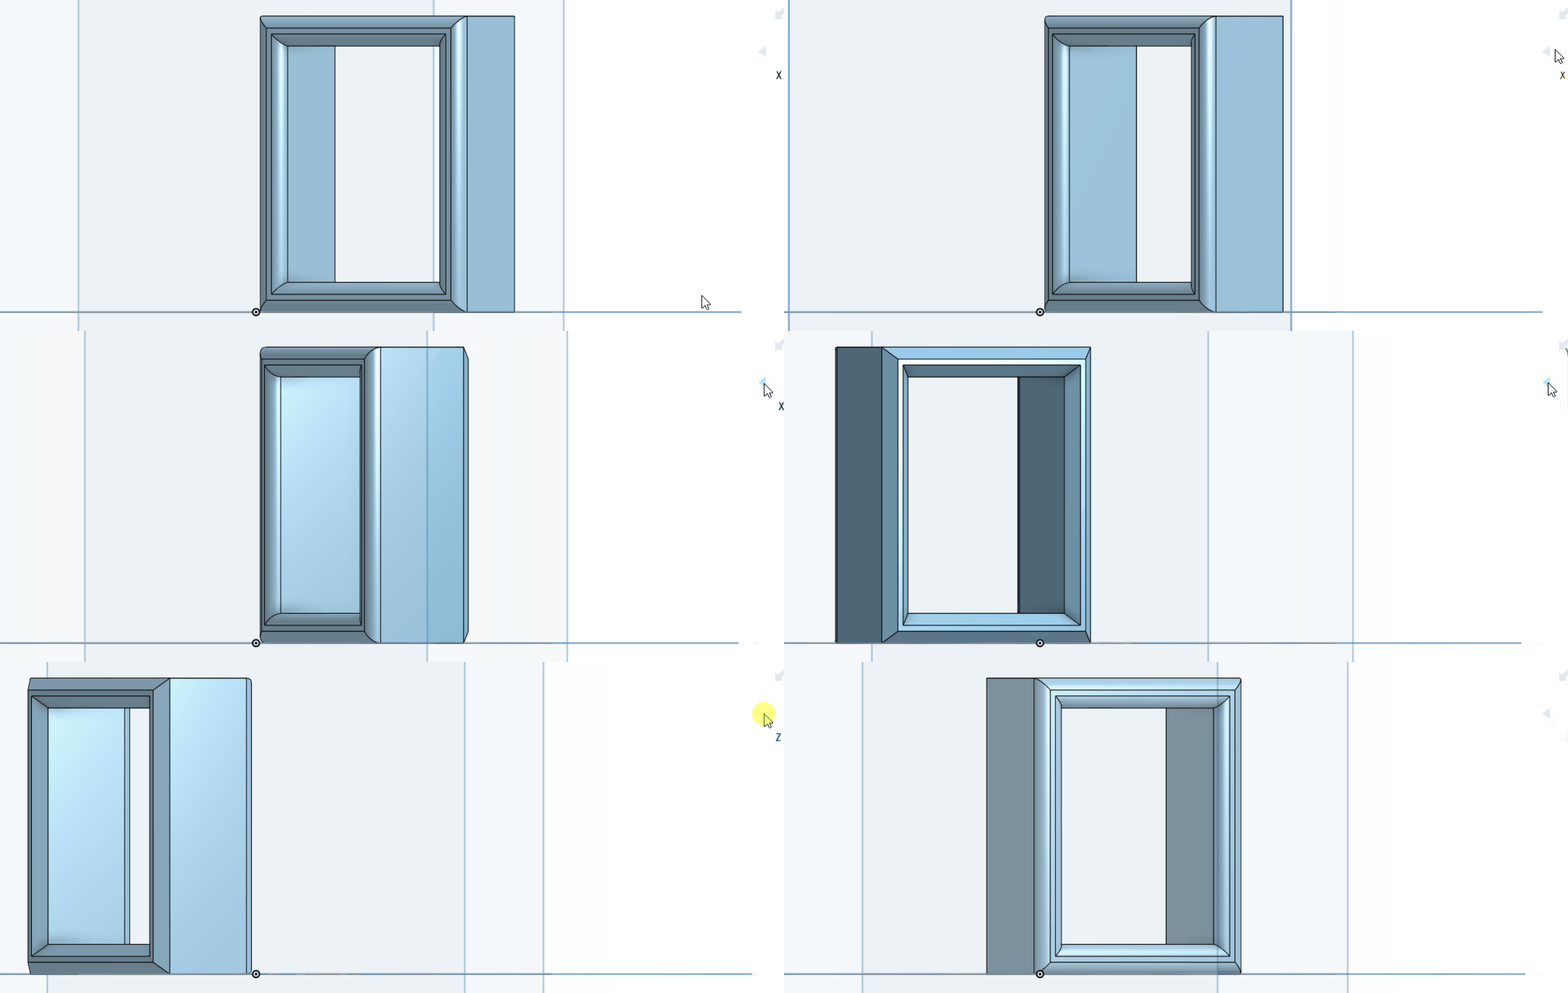
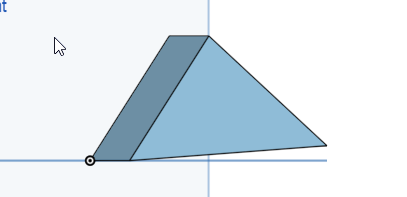
Some good actual examples of completed projects

snowflake extruded

Fillet and Shell

Units : MM

Step 1) Inscribed Triangle . Dimensioned to 22. Centered at origin

inscribed triangle

Step 2)  Make 1 vertex of triangle vertical with the origin. This will define the shape

inscribed triangle 2

Step 3)  This is what your shape should now look like :

inscribed triangle 3

Step 4) Use the scissor tool to delete the top 3rd of the circle

inscribed triangle 4

Step 5) Connect the 2 points (make sure it’s defined)

inscribed triangle 5


Step 6) Perform 2 extrudes (25 and 35). :

inscribed triangle 6

Step 7)  Fillet as shown:

inscribed triangle 7

Step 8)   Add a shell:

inscribed triangle 8


Step 9)  Final product:

inscribed triangle 9

Extrude Fillet Chamfer

Workspace Units: MM

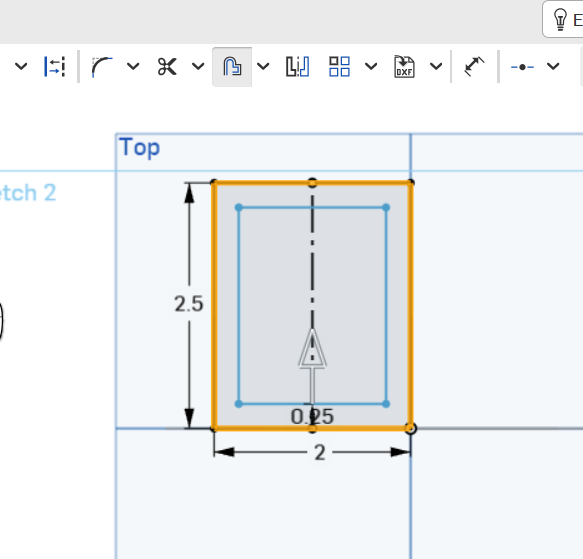
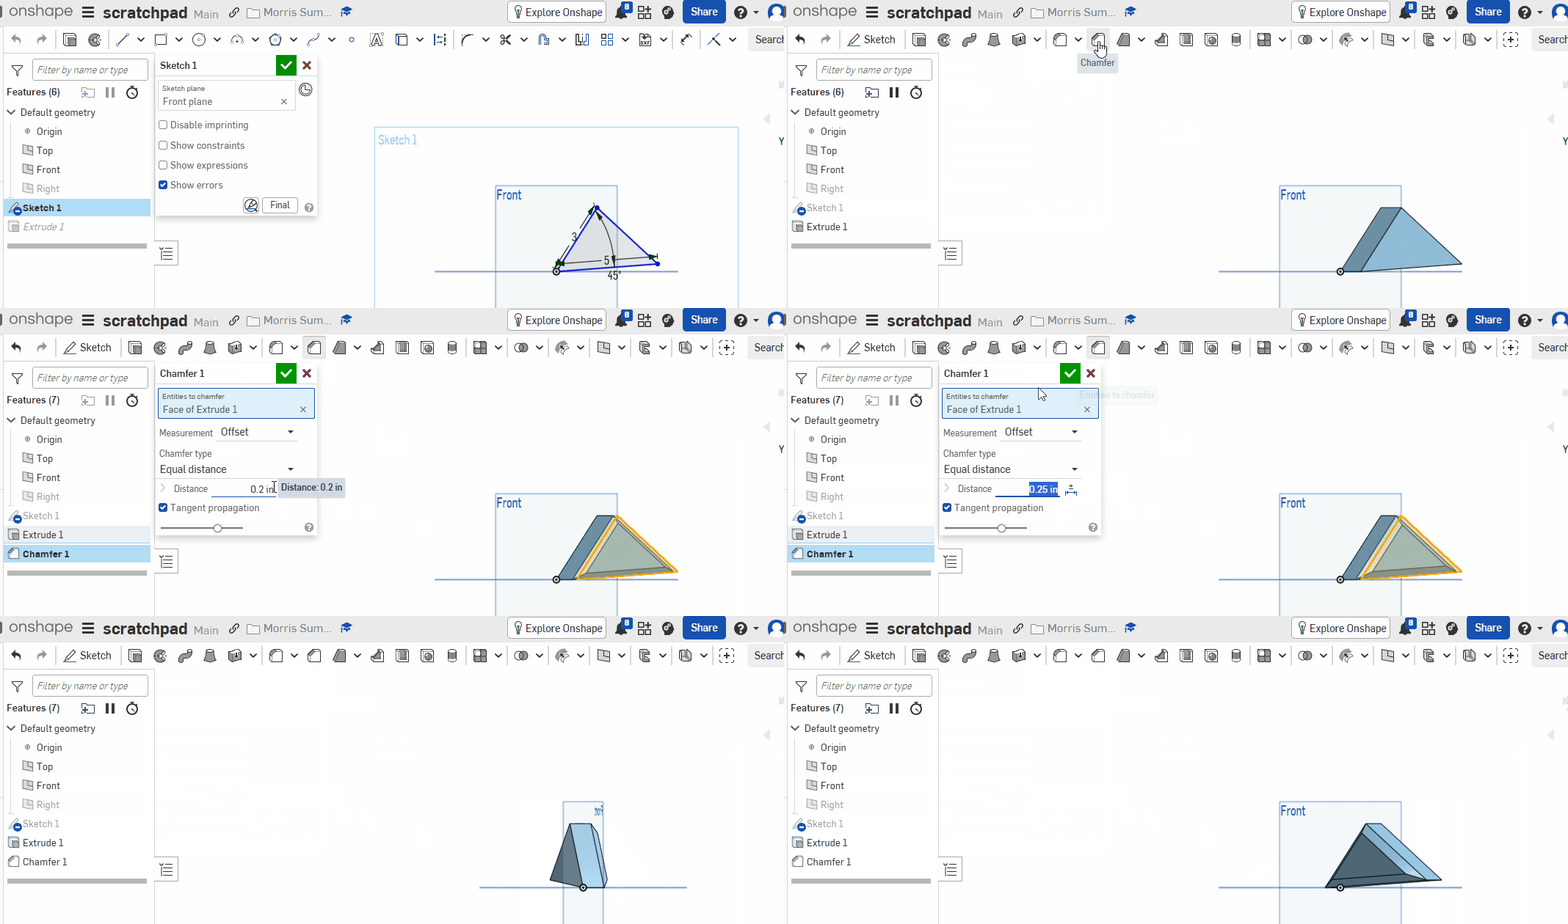
Step 1) Create a new sketch on the front plan and create the following sketch. All share centered at the origin:

dimensioned shape

(Click image to enlarge)

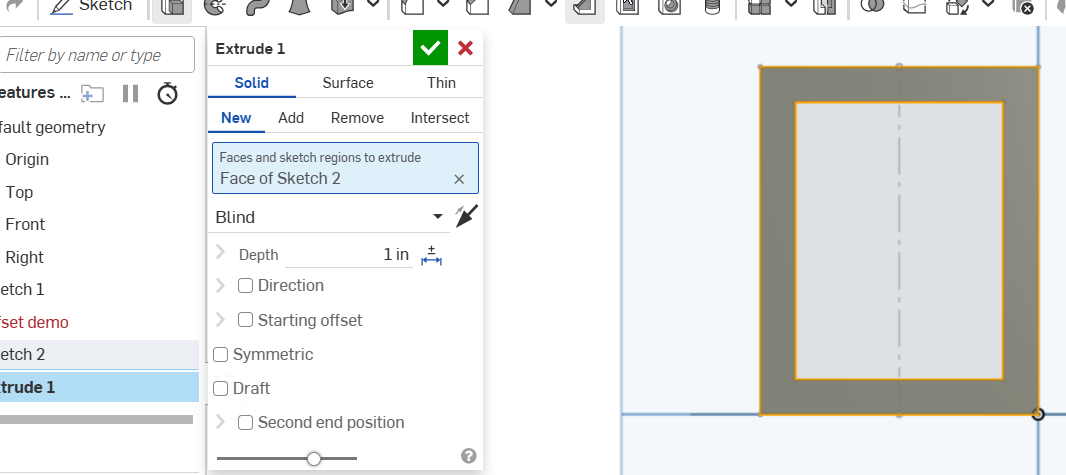
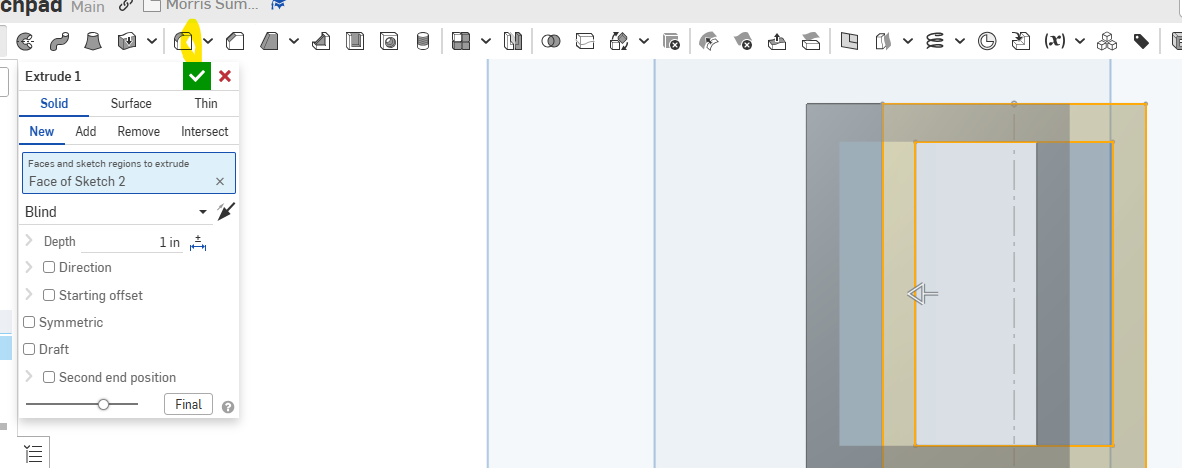
Step 2) Extrude 1:

extrude 1

Step 3) If sketch 1 is hidden, make sure to show it

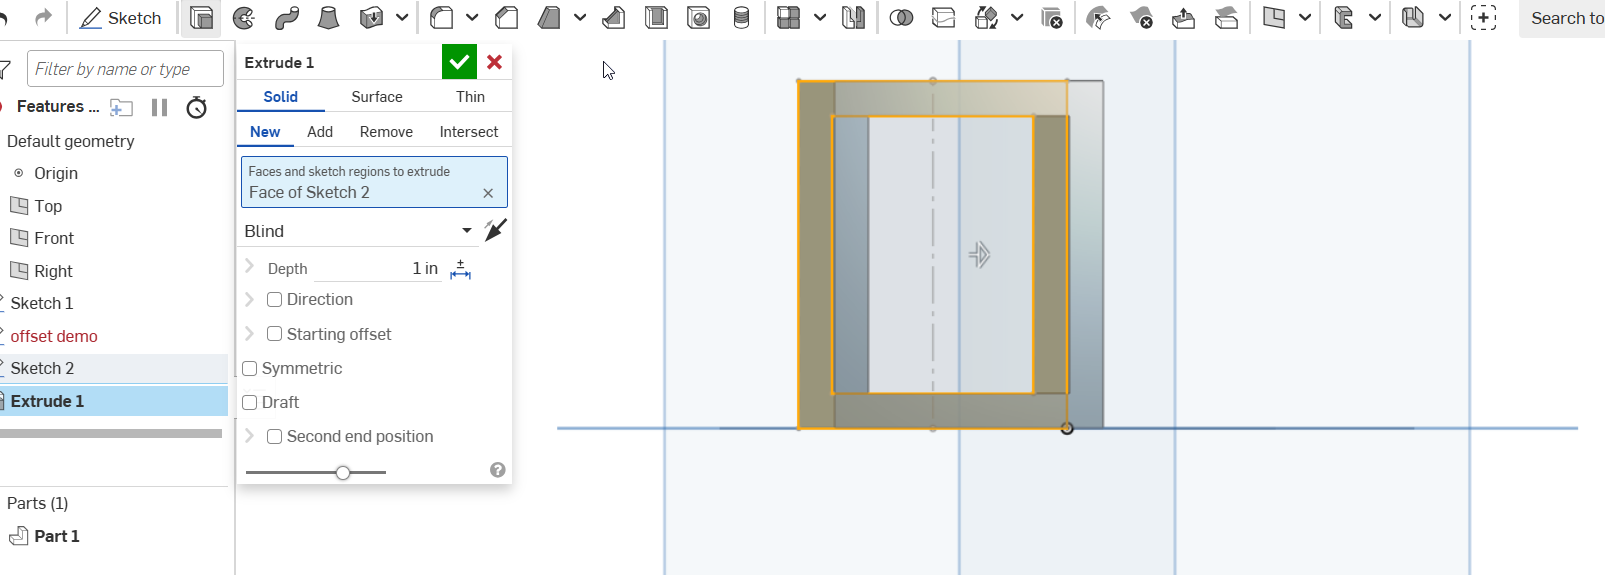
Step 4) Extrude 2:

extrude 2

Step 5)Fillet :

fillet1

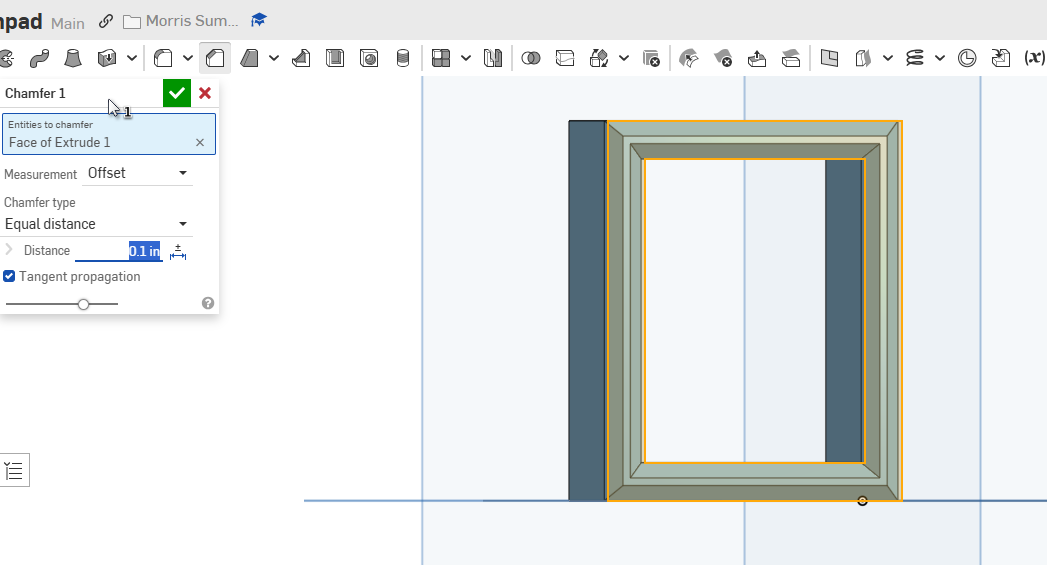
Step 6) Add a chamfer:

chamfer

Result

extrude-fillet-chamfer

Variable in onShape Do Now


Step 1) Create a 25, 30  , 40 and 42 MM circles all centered at the orig

multi-coincidental

Step 2) Add a single circle on the right that has a radius of 35.

multi-coincidental3


Step 3) connect centers with construction line. Make sure that the blue lines are coincidental to the circles

multi-coincidental4

tip: if you draw a line , you can use the ‘q’ button to change it to a construction line!

Step 4) Make the blue lines symmetric to the construction line and at a 9 degree angle

multi-coincidental5

Step 5) The center of the circles should be dimensioned to 44:

multi-coincidental6

Step 6)  Each part of the circle on the left should be an extrude. The outermost starts at 10MM, then 15MM, 20, 25 MM:

multi-coincidental7

Step 7) Connect the two end circles with a 2 MM extrude. The right side is 25 MM:

multi-coincidental9


Step 8)create the variable as shown below:fillet-amount

Step 9)  Add a fillet to all the circles edges. Set its amount to the variable len as shown. This video shows you how to use a variable and then change the variable:

vriable-for-fillet-val


Angle, Symmetric, FIllet practice

Set document to MM

Step 1) Make a circle, centered at origin with a diameter of 30. Then create a circle with a diameter of 20 to its right.

twocircles1

Step 2)  Connect the 2 circles with 2 lines coincident on to both circles. You should see the highlighted constraints when you mouseover either of them:

twocircles2

Step 3) Dimention the angle between the 2 lines to be 12 degrees. Make sure it’s the ANGLE , not the distance. If you’re not sure how to do that, watch this short animation.

twocircles12 degrees

Step 4) Create a construction line connecting centers, then make the two lines symmetric to that line:

symmetric

Step 5) Add the 2 dimensions shown . The shape should now be fully defined (all black)

twocircles4


Step 6) Extrude the middle part by 15 . Symmetric extrude and then add a 1 MM Fillet:

extrude and fillet


Step 7) Extrude th e2 circle by 30 MM (no pic. You should be able to do this on your own)