Category Archives: DDP

Onshape Practice- Disappearing Mirror Line


Step 1) Make sure you’re workspace units are millimeters

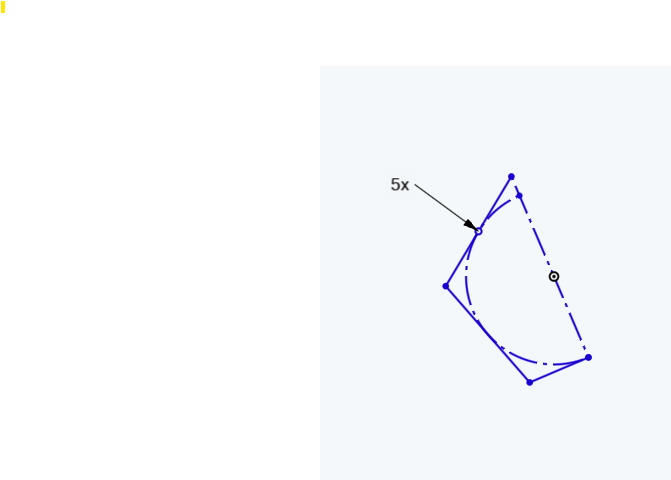
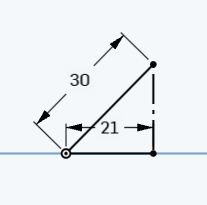
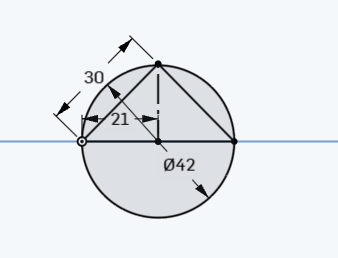
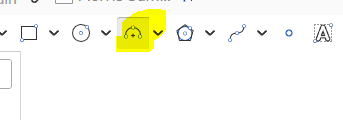
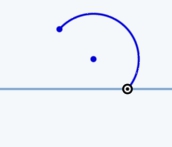
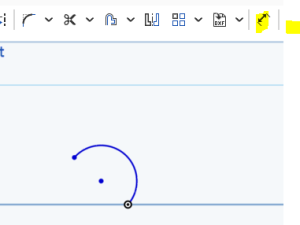
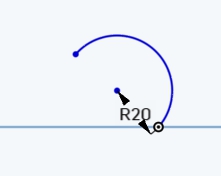
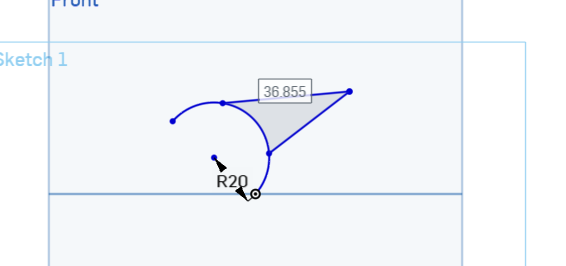
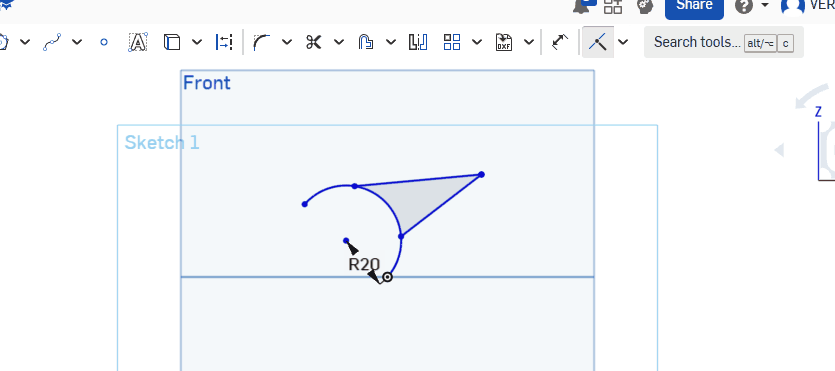
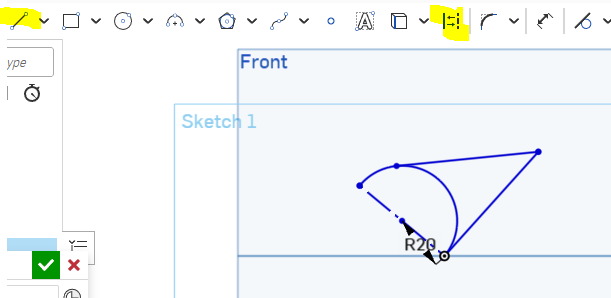
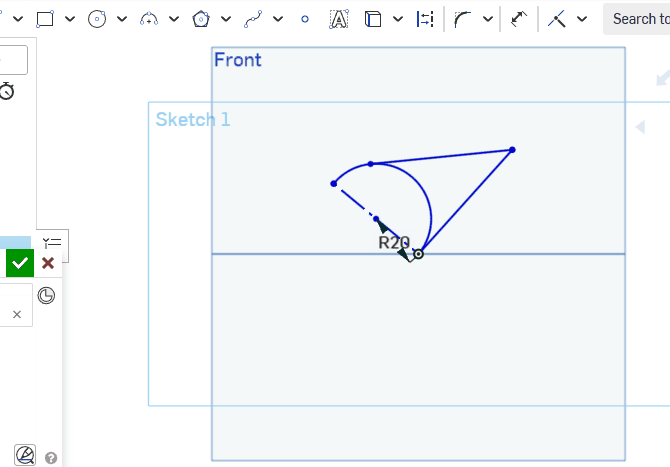
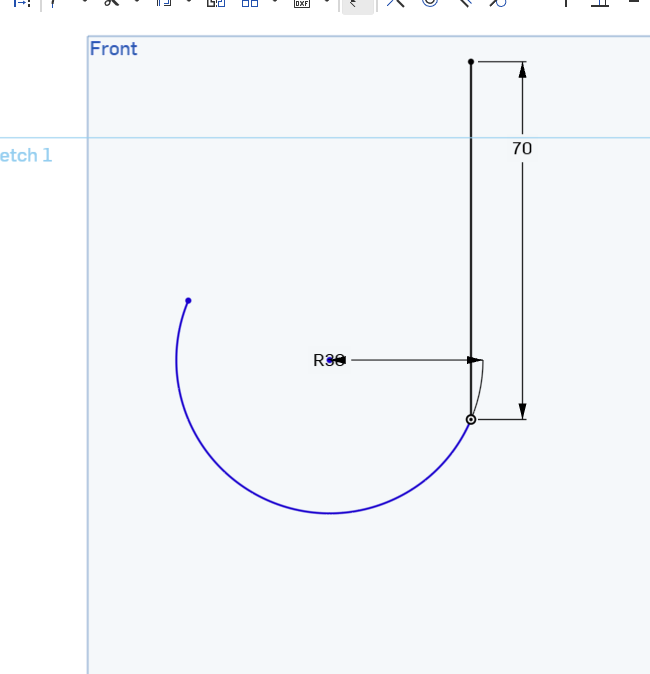
Step 2) Create a 3 point arc. Dimensioned to a radiu of 30, then add a vertical line:

3 point arc w line


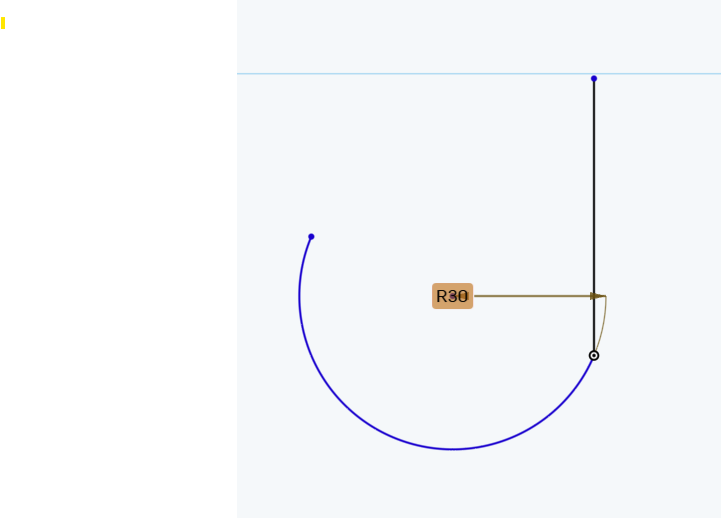
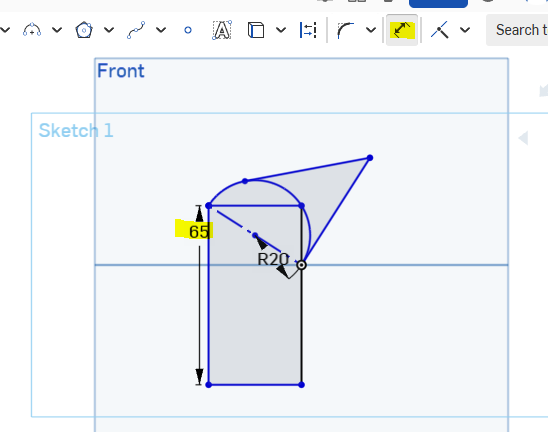
Step 3) Dimension the vertical line:

dimensioned-line


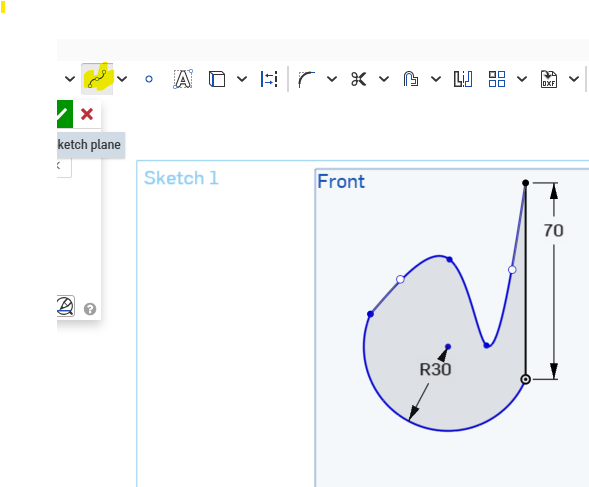
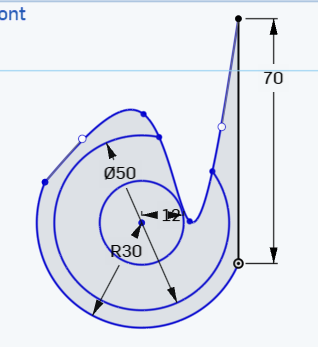
Step 4) Use the spline tool to create this :

spline tool

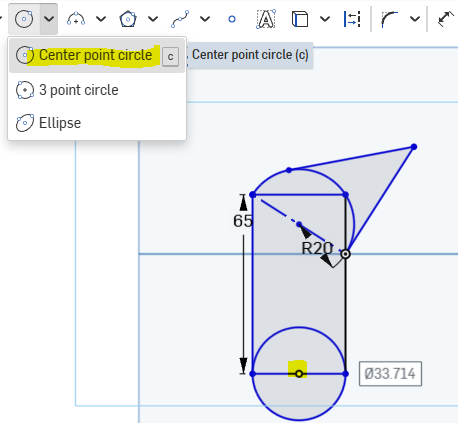
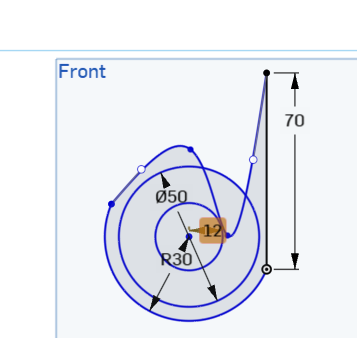
Step 5)  Add 2 circles and dimension both of them to 12 (smaller ) and 50 (outer) as shown below:

2 circles-dimensioned


Step 6) Select the cut tool

cut tool


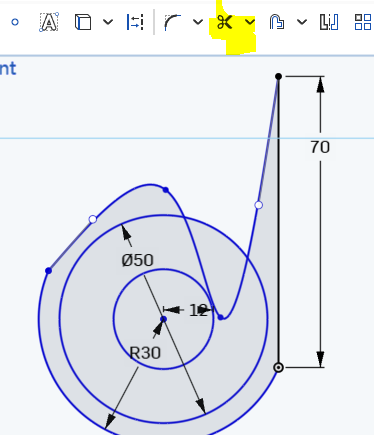
Step 7) remove the indicated region:

cut tool used


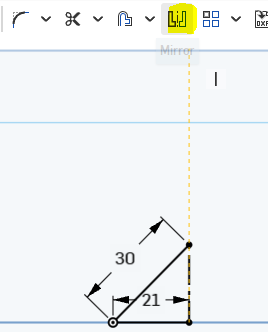
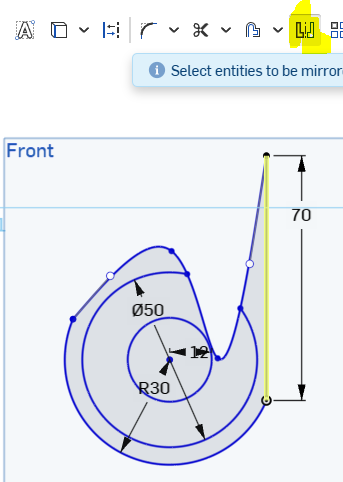
Step 8) Select the mirror icon and the mirror line indicated:

mirror line selection 0

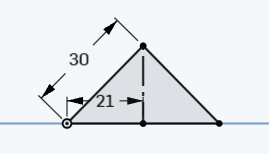
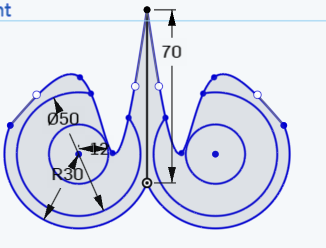
Step 9) Reflect everything!

mirror-this-stuff


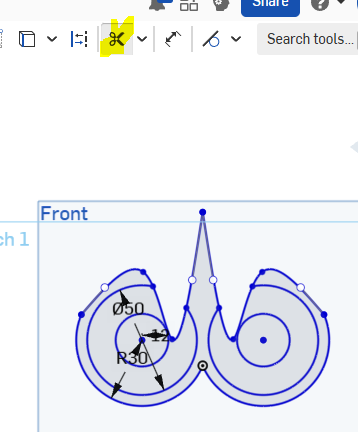
Step 10) Use the scissor tool to delete the mirror line.

delete mirror line


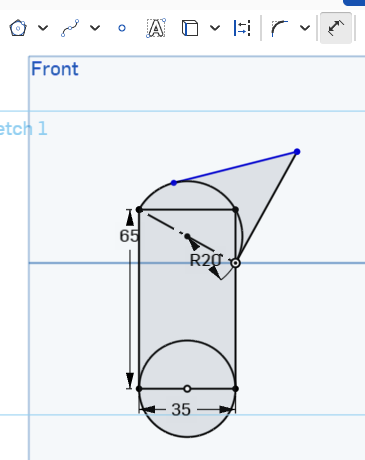
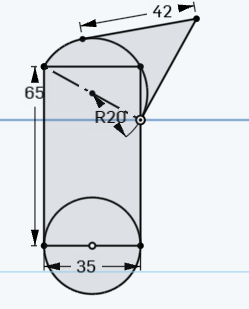
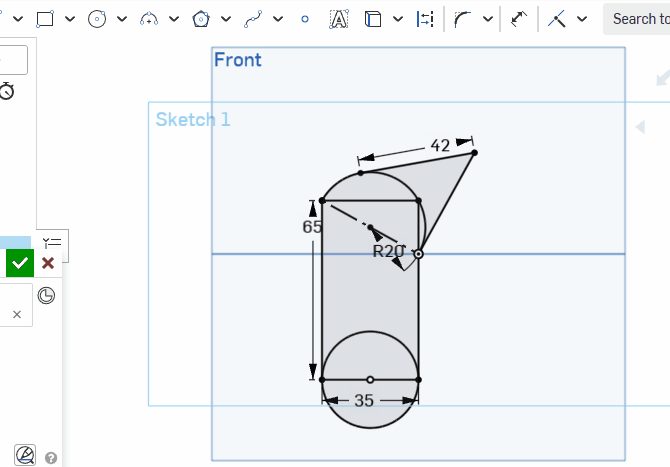
Step 11) Add 4 shapes of your choosing (line, rectangle, circle etc). Make Sure that all of the shapes are dimensioned. Submity your screenshot in google classroom assignment.

Hexagon in onshpae


Step 1) Use the polygon tool to make a pentagon (5 sides)

Click to enlarge

Step 2) Dimension the side to 25

dimension pentagon


Step 3)  Add a point then use the midpoint constraint on it

point then midpoint

Step 4) Draw a construction line to the midpoint

construction line to midpoint

Step 5)  Use the cut tool to remove half the polygon

half poly

Step 6)  Add 2 lines

added

Triangle Mirrored and Inscribed

Do Now

left-side-triangle

Step 1) Create the right triangle above. The hypotenuse dimensioned to 30, the vertical altitude is a construction line and the the other leg is dimensioned to 21.


mirror over construction

Step 2) Mirror the triangle over the construction line

Result :

result of mirror

Step 3)  Circumscribe circle that is dimensioned to 42

Final result:

circumbscribe circle


Complex Shape 1 with Arcs and Constraints

  1. Use the front plane and the make a 3 point arc centered at the origin 3 point arc
  2.  Picture:screenshot.1
  3.  Use the dimension tool   to set the radius to 20 mm : dimension the arc
  4. Resulting shape : screenshot.2
  5.  create 2 lines that are attached to the circle and that meet at a point outside the circle. Dimensions don’t matter, yet, for these. Your document should look similar to (does not have to be exact
  6. : two secant lines
  7.  Use the Tangent tool to make both lines tangent . You must select both the circle and the line as shown below:2 tangents
  8.   Create a construction line from the end points of the arc:

    construction line-diameter

    Click to enlarge image

  9. Create a Rectangle, as shown in the video below. Watch the end carefully for how to make the points coincident. Your interconnected shape should move as shown below:rectnagle w coincident points
  10.  Use the Dimension tool to make sure that the height of the rect is 65 MM :

    Click to enlarge image

    Click to enlarge image

  11. Add a midpoint to the bottom of the rectangle:Click to enlarge
  12. Make a Circle centered at that midpointbottom center
  13. Dimension the bottom circle so that its diameter is 35 : dimension bottom circle
  14.  As you can see only the top tangent line is blue. So that’s the last item to dimension! Dimension it to 42 :
  15. top is 42
  16. Use the trim tool to remove the top half of the circle and its diameter line:trim interior
  17. Now your turn. In the same document. Create a complex separate shape. This shape should include a minimum of 5 simple shapes. 1 of the shapes must be an arc or a semicircle. All of the shapes must be dimensioned.